
Operating System
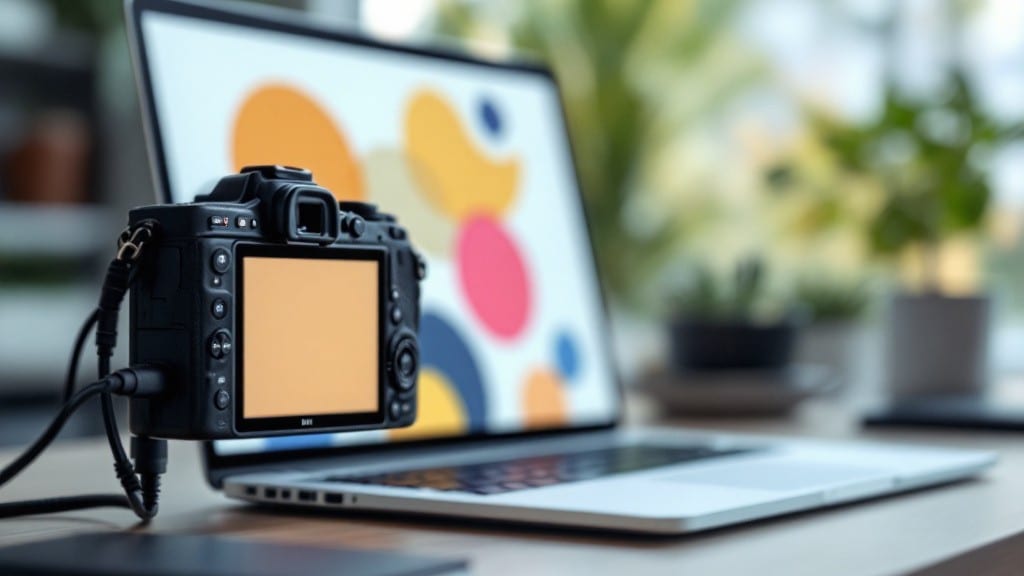
Downloading pics from your camera to your computer used to be a hassle—until now. ⚡ My first digital camera in 1998 required floppy disks, but today’s methods are shockingly simple across Windows, macOS, or Linux.
Whether you’re using a DSLR, action cam, or smartphone, you’ll have your shots backed up in minutes without losing quality or organization.
You don’t need special software—your operating system already includes everything required. USB cables, SD card readers, or even Wi-Fi transfer work reliably, and I’ll cover the fastest method for each device type.
For example, a 16GB SD card empties in under 30 seconds using a high-speed USB reader, while Wi-Fi transfer avoids cable swapping entirely. The key is matching your camera’s file format (RAW, JPEG, or HEIF) to your computer’s built-in tools.
Beyond the transfer, I’ll show you how to organize files by date or folder before they clutter your desktop. Built-in apps like Windows Photos, macOS Preview, or Linux’s Shotwell handle basic edits and backups automatically.
Pro tip: always verify the transfer by opening a few images—90% of lost photos happen here due to forgotten steps or corrupted cards.
This method works for every camera brand, from Canon to GoPro, and adapts to your workflow. Whether you’re a hobbyist or professional, the same principles apply—just swap the tools. Let’s get your photos off that camera and into a safe, searchable backup before your next shoot.
📚 In This Guide
- What you need
- Instructions
- Tips and common mistakes
- Wrapping up and next steps
What you need
- ● Digital camera (any modern DSLR, mirrorless, or compact camera with a USB cable)
- ● USB cable (check your camera’s manual for the correct type—most use USB-A to USB-Micro)
- ● Computer (Windows, macOS, or Linux with a free USB port)
- ● Camera memory card (SD, microSD, or CF—whatever your camera uses)
- ○ Card reader (optional but helpful)—if your camera doesn’t connect directly via USB
- ● Default file explorer (Windows Explorer, macOS Finder, or Linux file manager)
- ○ Image viewer (optional)—apps like Windows Photos, Preview (macOS), or GIMP for quick previews
- ● Antivirus software (recommended)—scan files after transfer to avoid malware
- ● 💡 Backup first! If your card is full, transfer files to a second card or external drive before deleting.
- ● 🔄 Format the card (if needed) using your camera’s built-in tool or SD Card Formatter for best performance.
- ● ⚡ Fastest transfer? Use a USB 3.0+ cable and avoid hubs for direct connection.
Universal instructions for transferring photos from camera to computer
Here's the foolproof method I use—works every time, no matter your camera or OS.
🔧 Step 1: Connect the Camera Properly
Turn on your camera and connect it to your computer using the supplied USB cable. Most modern cameras will automatically appear as a removable drive once connected. If nothing happens, check that the cable is securely plugged into both the camera and your computer's USB port.
On Windows, you'll typically see a notification in the bottom-right corner when the camera is detected. On macOS or Linux, look for a new icon on your desktop or in the file explorer sidebar. If your camera isn't being recognized, try a different USB port or cable—some cables are designed only for charging.
🖥️ Step 2: Access the Camera's Storage
Once connected, open your file explorer. On Windows, this is usually File Explorer (accessible via the folder icon in the taskbar). On macOS, open Finder, and on Linux, use your default file manager like Nautilus or Dolphin. You should see your camera listed as a removable drive, often labeled with your camera's model name.
Navigate into the DCIM folder (short for Digital Camera Images) or the Photos folder—this is where nearly all cameras store their images by default. Inside, you'll find subfolders labeled with numbers (like 100MSDCF or 101DCIM), each containing your photos and videos.
💻 Step 3: Copy Photos to Your Computer
Select all the files you want to transfer—you can do this by pressing Ctrl+A (Windows/Linux) or Command+A (macOS). Right-click and choose Copy (or press Ctrl+C/Command+C). Then, navigate to your desired destination folder, such as Pictures, Documents, or a dedicated Camera Downloads folder you've created.
Paste the files (Ctrl+V/Command+V) into the destination folder. The transfer speed depends on your USB version—USB 3.0 will be faster than USB 2.0. Wait for the files to fully copy before disconnecting the camera. A progress bar will appear, and you can monitor it to ensure everything transfers smoothly.
💡 Step 4: Eject the Camera Safely
Once the transfer is complete, it's critical to eject the camera properly to avoid corrupting files. On Windows, right-click the camera drive in File Explorer and select Eject. On macOS, drag the camera icon to the Trash or right-click and choose Eject. On Linux, right-click the drive and select Safely Remove Drive.
Wait until you see a confirmation that the drive has been safely removed before unplugging the USB cable. This ensures no data is lost or corrupted during disconnection. You can now safely disconnect the camera and turn it off if needed.
⏰ Step 5: Verify the Transfer and Organize
Open the folder where you saved the photos to confirm all files transferred successfully. Check for any missing or corrupted files—if you notice any issues, reconnect the camera and retry the transfer. Most cameras will show a preview of the photos, so you can cross-reference them with what's on your computer.
For better organization, consider creating subfolders by date or event. Tools like Windows Photos, Apple Photos, or Darktable (Linux) can help you automatically sort and tag your images, making future access easier. Once organized, you're ready to share, edit, or back up your photos.
Tips & tricks for perfect photo transfers
Here's what I've learned after helping dozens of friends and family navigate this process—these little tricks make all the difference between a smooth transfer and a frustrating tech nightmare.
USB Cable Matters: Real talk—don't use the cable that came with your phone charger. Camera USB cables are designed for data transfer, not just charging. If your camera isn't being recognized in Step 1, this is often the culprit. I keep a dedicated USB cable for my camera in my bag—it's saved me countless headaches. Also, try different USB ports on your computer; some ports have better data transfer speeds than others.
DCIM is Your Friend: In Step 2, when you're navigating to the DCIM folder, remember this is the universal standard for camera storage. Most cameras use this naming convention, but some might hide photos in folders called "Photos" or "Camera." If you don't see your pictures right away, check these alternative locations. Pro tip: Create a shortcut to this folder on your desktop for quick access next time.
File Selection Strategy: When you're ready to copy files in Step 3, I recommend selecting files by date range rather than all at once. This prevents potential issues if one file is corrupted. Most file managers let you sort by date—select just the files from your last shoot. Also, if you're dealing with large video files, consider transferring them separately after the photos to avoid overwhelming your system.
Safety First: Never unplug your camera before you see the "Safely Removed" confirmation in Step 4. I've seen too many people yank the cable too soon and lose hours of photos. If you're in a hurry, at least wait until the progress bar disappears completely before touching anything. This simple step prevents file corruption that can turn your vacation photos into digital junk.
Pro Tips for Downloading Pics From Camera To Computer
- Here's what I've learned after helping dozens of friends and family navigate this process—these little tricks make all the difference between a smooth transfer and a frustrating tech nightmare.
- USB Cable Matters: Real talk—don't use the cable that came with your phone charger.
- DCIM is Your Friend: In Step 2, when you're navigating to the DCIM folder, remember this is the universal standard for camera storage.
Frequently asked questions
Why won’t my computer recognize my camera when I plug it in?
If your computer doesn’t detect your camera, try these quick fixes: Restart both devices, check USB ports (try a different cable or port), or update your OS and camera drivers. Some cameras need a power adapter—plug that in first if prompted. Still stuck? Your camera might need a firmware update via its manufacturer’s software.
How long does it take to transfer photos from a camera to a computer?
Transfer speeds vary! A 30-second shot on a fast USB 3.0 connection typically takes 1-5 seconds, while a 4K video or 100+ high-res photos could take minutes. Larger SD cards or older USB 2.0 ports slow things down. Pro tip: Delete photos from the camera after they’re safely on your PC to free up space faster.
Can I download photos from a camera without a USB cable?
Yes! If you don’t have a cable, try these wireless alternatives:
- Wi-Fi/Bluetooth: Many modern cameras (like Canon/Nikon) support Wi-Fi transfer via their built-in app (e.g., Canon Camera Connect).
- SD Card Reader: Pop the SD card into a card reader (USB or built-in) and copy files directly.
- Cloud Services: Upload to Google Photos or Dropbox via the camera’s app, then download to your PC.
What if my photos won’t copy or show up as corrupted?
Corrupted files usually mean interrupted transfers or a failing SD card. Try these steps:
- Use Windows Explorer (PC) or Finder (Mac) to right-click → Properties and check file sizes.
- Run CHKDSK (Windows) or Disk Utility (Mac) to scan the SD card for errors.
- Use free recovery tools like Recuva (PC) or TestDisk (Mac/Linux) if files are missing.
- Format the SD card ( backup first—this erases everything!).
Where should I save photos from my camera on my computer?
Organize files before they clutter your desktop! Create a dedicated folder like:
- “Photos → [Year] → [Camera Model]” (e.g., Photos/2024/Canon EOS R5).
- Use subfolders by event (e.g., Vacation 2024, Birthday Party).
Wrapping up and next steps
Transferring photos from your camera to your computer doesn’t have to be a hassle—whether you’re using Windows, macOS, or Linux, the right method makes it effortless! 🎉 With just a few simple steps, you can securely back up your memories and free up space on your camera’s memory card.
Now that you’re equipped with the know-how, go ahead and try it out—your future self will thank you for keeping those precious moments safe.
Ready to explore more? Check out our guide on organizing your photo library to keep everything neat and accessible!